
Top 8 Field Geomembrane Welding Errors and Professional Solutions
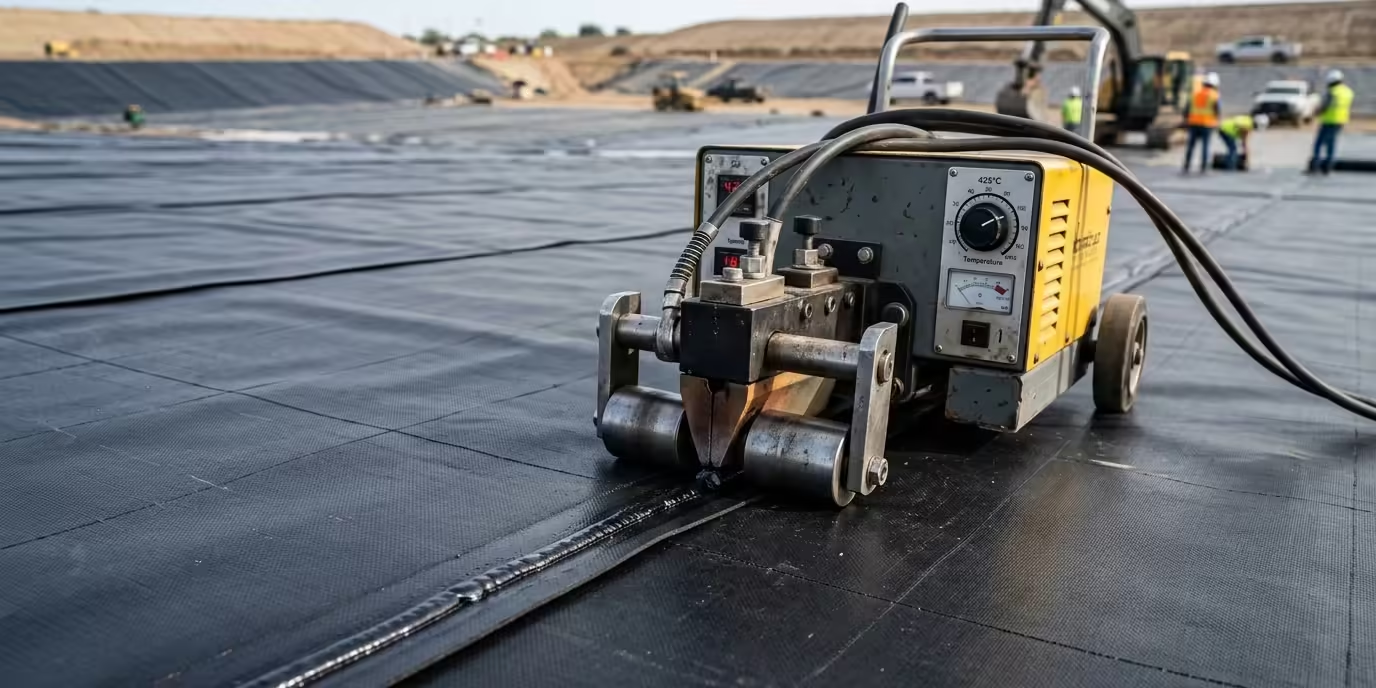
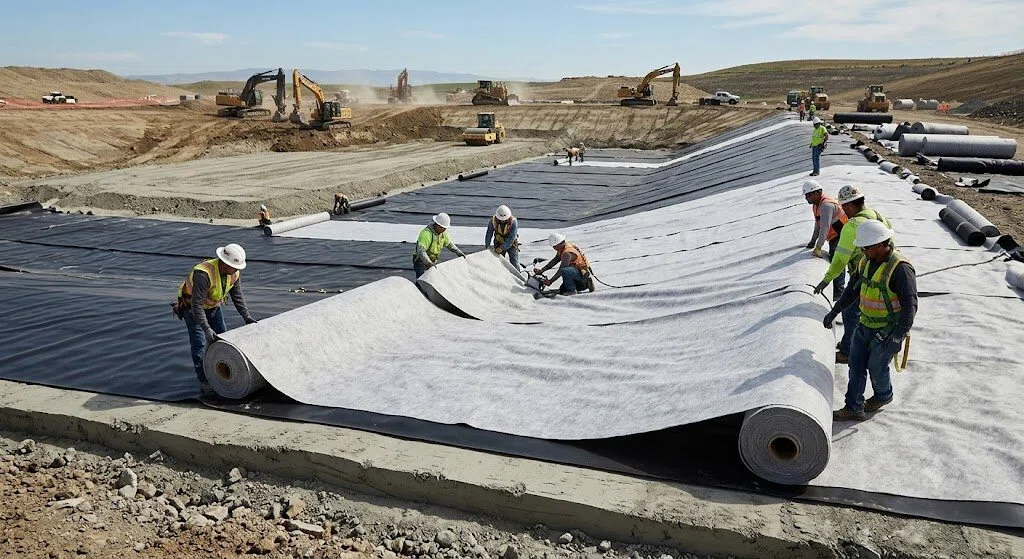
In large-scale containment projects—whether for landfills, mining leach pads, or water reservoirs—the integrity of the entire system depends on the quality of the seams. While the liner material itself is robust, the field-welded joints are the most common points of failure. Understanding the root causes of geomembrane welding errors is the first step toward ensuring long-term environmental safety and project compliance.
Table of Contents
Understanding the Root Causes of Geomembrane Welding Errors
On-site conditions are rarely perfect. Factors such as fluctuating ambient temperatures, high humidity, and dust can compromise even the best equipment. Most geomembrane welding errors stem from a lack of synchronization between machine settings and the actual environment. Below, we break down the eight most frequent mistakes encountered by field crews and how to rectify them.
1.Inadequate Surface Cleaning (The “Dust” Factor)
The most common of all geomembrane welding errors is simply welding over dirty material. Dust, mud, or chemical residue at the interface prevents the molecular bond required for a high-strength seam.
- The Fix: Use a clean, lint-free cloth to wipe the overlap area immediately before the welder passes. If the liner has been exposed to mud, a deeper wash and dry are mandatory.
2.Incorrect Temperature and Speed Synchronization
If the hot wedge is too hot, it scorches the polymer; too cold, and you get a “cold weld” that peels under the slightest stress.
- The Fix: Perform a “Trial Weld” at the start of every shift. Adjust your speed and temperature according to the field welding best practices outlined in your project’s CQA plan.
3.Improper Overlap Width
Common geomembrane welding defects often involve seams that are too narrow. If the overlap is insufficient, the hot wedge or extrusion bead cannot create a wide enough fusion zone to meet shear strength requirements.
- Field Seaming Mistakes to Avoid: Always ensure a minimum 100mm to 150mm overlap, depending on the material thickness and manufacturer specs.
4.Moisture and Condensation in the Seam
Moisture is the enemy of high-frequency and thermal welding. Even invisible morning dew trapped between layers can turn into steam during welding, creating voids or “bubbles” in the seam.
- The Fix: Use industrial heat guns to pre-dry the seam area. Never weld during rain or heavy fog without a controlled shelter.
5.Excessive or Insufficient Grinding (Extrusion Welding)
For geomembrane seam repair or detail work, extrusion welding is used. However, over-grinding thins the liner, while under-grinding fails to remove the oxidized layer.
- The Fix: Grind only enough to remove the shine (oxidation) and do not exceed 10% of the material thickness. The weld bead must cover the ground area completely.
6.Poor T-Joint Management
The intersection of three layers of liner (the T-joint) is where many geomembrane welding errors occur. These areas are prone to “channels” that lead to leaks.
- The Fix: Trim the overlapping edges at a 45-degree angle (beveling) and use a patch or extra extrusion bead to reinforce the intersection point.
7.Pressure Roller Inconsistency
If the pressure rollers on a hot wedge welder are not adjusted for the specific thickness of the liner, the seam will lack the necessary “squeeze-out” at the edges.
- The Fix: Check roller alignment and pressure settings regularly. Ensure the “track” left by the roller is uniform across the entire run.
8.Fishmouths and Wrinkles
Large wrinkles (fishmouths) occur when the two sheets are not aligned properly. Welding through a fishmouth results in a folded seam that will eventually leak.
- The Fix: Distribute the “slack” along the length of the panel. If a fishmouth is inevitable, it must be cut, overlapped, and repaired using a patch.
Implementing Rigorous Welding QA and Testing
To catch geomembrane welding errors before they are buried, a strict testing protocol is required.
- Air Pressure Testing: For double-track fusion welds, the air channel between the two tracks is pressurized. A drop in pressure indicates a leak.
- Vacuum Box Testing: Essential for extrusion welds and geomembrane seam repair. A soapy solution is applied, and a vacuum is drawn; bubbles indicate a failure.
- Destructive Testing: Samples are cut from the field seams and tested in a laboratory to ensure they meet ASTM D6392 standards for peel and shear strength.
Summary of Field Welding Best Practices
Preventing geomembrane welding errors requires a combination of skilled labor and high-quality equipment. By focusing on surface preparation and environmental monitoring, you can significantly reduce the need for costly repairs. Adhering to these field welding best practices ensures that the liner system remains impermeable for its intended lifespan.
Conclusion: Prioritizing Precision in Field Seaming
The integrity of a containment system is only as strong as its weakest weld. While geomembrane welding errors are common in the challenging environments of civil and environmental engineering, they are by no means inevitable. By strictly adhering to field welding best practices, maintaining a rigorous welding QA program, and training crews to recognize field seaming mistakes before they become failures, project managers can ensure a leak-proof result.
Investing the time in proper surface preparation and consistent trial welds is far more cost-effective than post-installation geomembrane seam repair. As the industry moves toward more complex infrastructure projects, mastering the nuances of HDPE fusion remains the gold standard for long-term environmental protection.
FAQ
How do I handle geomembrane welding errors found during a vacuum test?
Any failed area must be marked, cleaned, and patched. The patch should extend at least 150mm beyond the defect in all directions and be extrusion-welded following the same prep protocols as the main seam.
What is the biggest cause of common geomembrane welding defects in winter?
In cold weather, the liner acts as a heat sink, pulling heat away from the weld. You must either slow down the welding speed or increase the temperature to compensate for the “cold base” material.
Can most geomembrane welding errors be avoided with automation?
Automated wedge welders reduce human error, but they cannot account for surface dirt or moisture. Operator vigilance is still the most important factor in preventing field seaming mistakes.
Is a trial weld necessary if the weather hasn’t changed?
Yes. Friction, power fluctuations, and subtle humidity changes can lead to geomembrane welding errors. Always perform a trial at the start of each work period (morning and afternoon).
What standard defines the limits for geomembrane welding errors?
Most international projects follow GRI GM19 or ASTM D4437 to define the acceptable limits for seam strength and the frequency of welding QA testing.
How does one fix geomembrane welding errors caused by over-grinding?
If the material is significantly thinned, a patch is the only safe solution. Simply adding more extrusion bead will not restore the structural integrity of the base liner.
Why is “peel strength” so important in detecting geomembrane welding errors?
Peel strength measures the bond between the two layers. If the weld “peels” easily, it indicates a cold weld or surface contamination, even if the “shear” strength (tensile) seems adequate.